Create and manage repository rulesets
In this unit, you’ll learn how to create and manage rulesets, and understand the advantages they offer over traditional protection rules.
As a GitHub administrator, you need granular control over who can push, delete, or rename branches and tags. Repository rulesets let you bundle multiple rules under a single name, apply them to selected branches or tags, and toggle them on or off without deleting them. They complement existing branch- and tag-protection rules, giving you a unified, layered approach to repository security.
What are repository Rulesets?
A ruleset is a named collection of rules that apply to one or more branches or tags in your repository.
- Target selection: Choose specific branches (e.g.,
feature/*) or tags (e.g.,v*.*). - Rule definitions: Require status checks, enforce signed commits, block force pushes, and more.
- Bypass permissions: Grant repository admins, teams, or GitHub Apps the ability to bypass certain rules.
For example, a ruleset for your feature/* branches can require signed commits and block force pushes for everyone except admins. You can also import existing tag-protection rules into a ruleset to reuse your current settings.
Comparing Rulesets, branch protection, and protected tags
| Capability | Protection Rules | Rulesets |
|---|---|---|
| Single rule per branch or tag | ✅ | ❌ (multiple rules) |
| Multiple rule groups can coexist | ❌ | ✅ |
| Enable or disable without deleting | ❌ | ✅ (status toggles) |
| Visible to anyone with read access | ❌ (admin only) | ✅ |
Key advantages of rulesets
- Layering: Aggregate rules from multiple sources; the strictest setting applies.
- Statuses: Enable, disable, or evaluate (test) rulesets without deletion.
- Transparency: Developers and auditors can view active rulesets with read access, without admin rights.
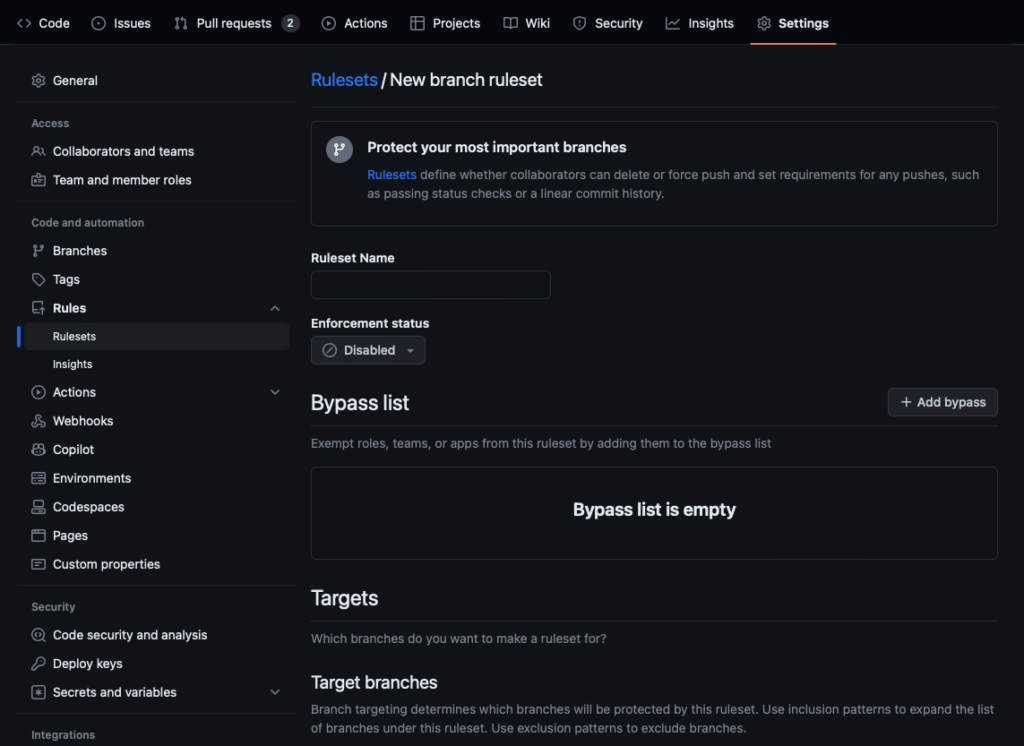
Creating your first Ruleset
- On GitHub.com, navigate to Settings > Code and automation > Rules > Rulesets.
- Click New ruleset, then select Branch or Tag.
- Enter a name and choose your target branches or tags.
- Toggle rules such as Require status checks or Block force pushes.
- Assign bypass permissions (e.g., Admins, CI App).
- Click Create.
Tip
For release branches (release/*), require two successful status checks and block force pushes to enforce stability.
Managing and editing Rulesets
- View active rulesets: On the Rulesets page, see which sets target a given branch or tag.
- Edit a ruleset: Click its name, adjust rules or targets, then Save changes.
- Toggle status: Enable or disable a ruleset without deleting it.
- Delete: Remove obsolete rulesets when they’re no longer needed.
Available rules
Repository rulesets support many of the same protections as branch and tag protection:
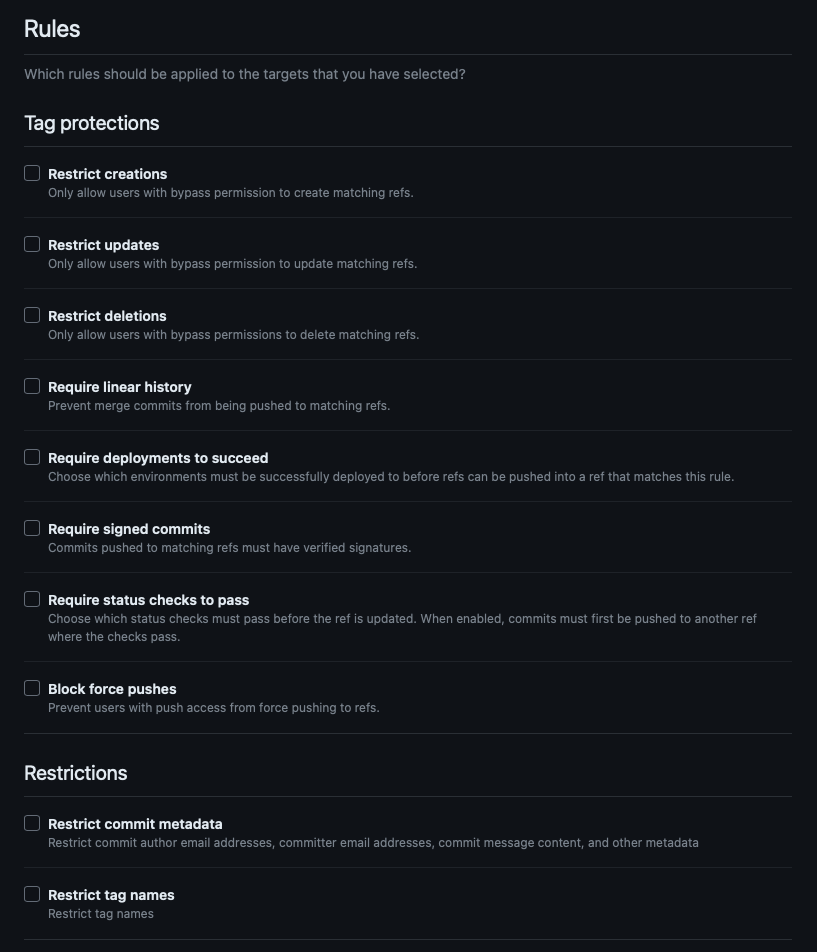
Common examples:
- Require status checks to pass (e.g., CodeQL, Dependency Review).
- Require signed commits.
- Block force pushes or deletions.
- Restrict who can push or merge.
Tip
Enforce your CI/CD pipeline by requiring key workflows as status checks before merges.
Layering Rulesets and protections
GitHub aggregates all applicable rules—branch protection, tag protection, and multiple rulesets—and applies the most restrictive setting.
Example: The my-feature branch has:
- A ruleset requiring signed commits and three reviews.
- A branch protection rule requiring a linear history and two reviews.
Outcome: Pull requests need three reviews, and commits must be both signed and linear.
Impacts of policy and Ruleset choices in GitHub Enterprise
Your policies and rulesets affect security, compliance, developer experience, and operational efficiency. Finding the right balance between control and flexibility is essential.
Security and compliance enforcement
- Identify the asset: (e.g.,
repository.deleted). - Query the Audit Log API (REST):
GET /orgs/{org}/audit-log?phrase=repository.deleted
Authorization: Bearer YOUR_TOKEN3. Query via GraphQL:
query {
   auditLogEntries(first: 10, query: "repository.deleted") {
     nodes {
       action
       actor { login }
       createdAt
     }
   }
}- Filter & inspect: Focus on relevant events (
repository.deleted,org.member_removed). - Remediate: Restore assets or tighten security settings.
